More than 60 percent of HMO inspections in the UK uncover compliance issues that delay or derail licensing approval. For landlords, one misstep could mean costly fines or weeks of lost rent. Staying informed on inspection requirements has never been more vital. When you know exactly what authorities expect, you can avoid common pitfalls and keep your tenants safe while protecting your investment.
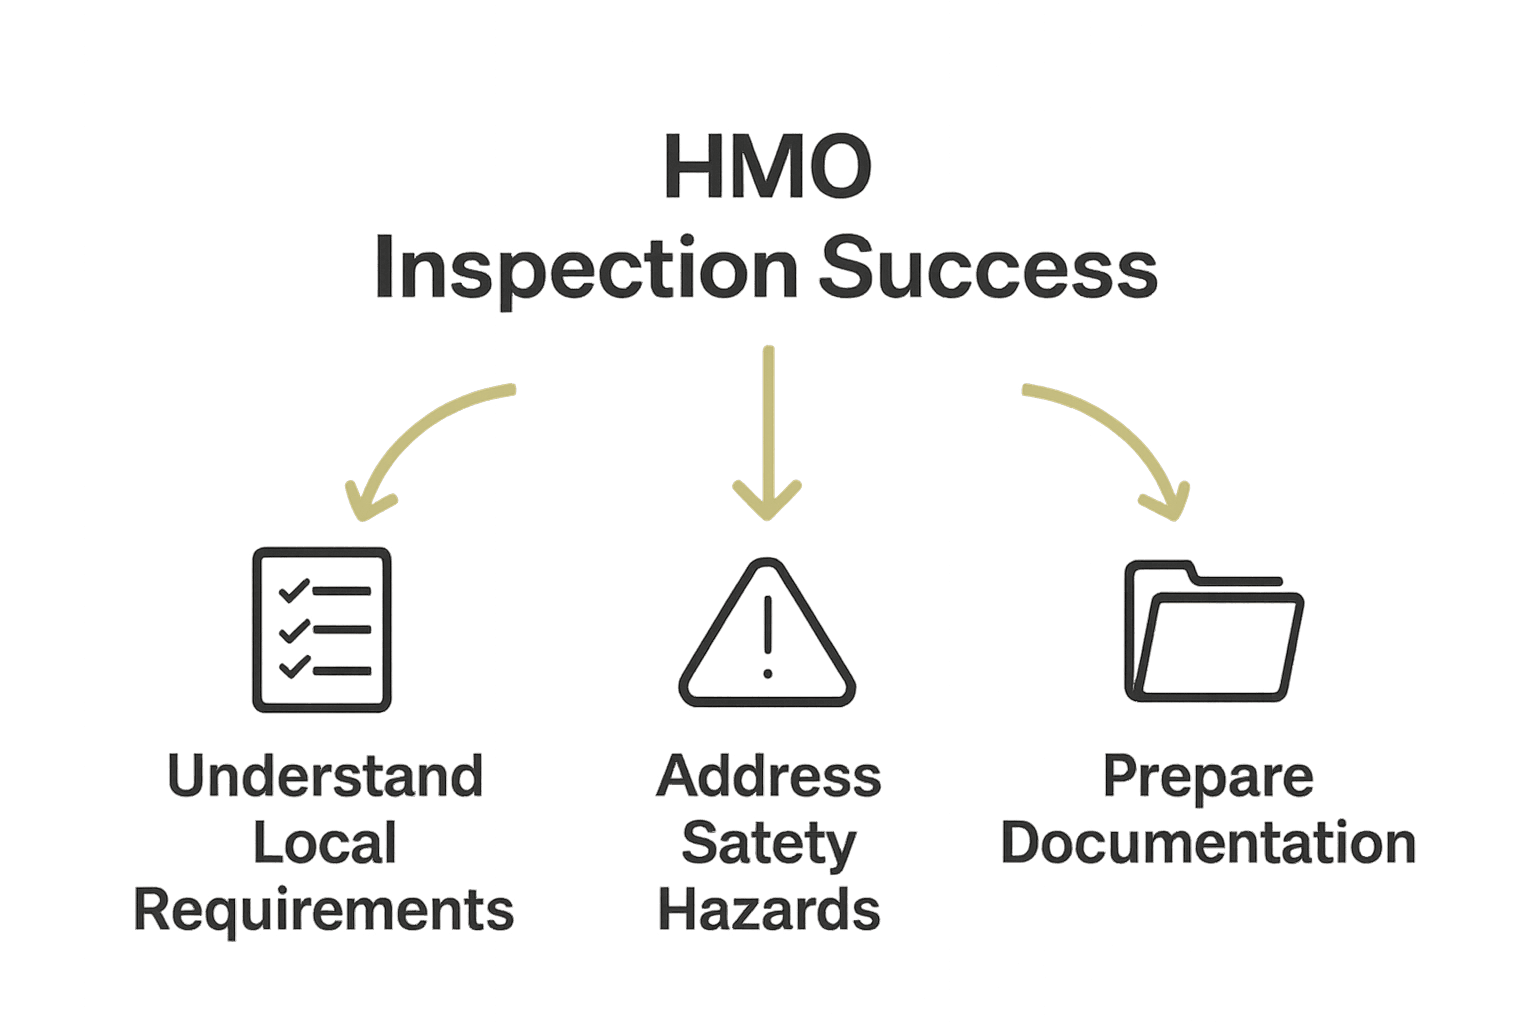
Quick Summary
| Key Point | Explanation |
|---|---|
| 1. Understand Local Licensing Requirements | Contact your local authority to learn specific HMO licensing rules and gather necessary documentation for compliance. |
| 2. Conduct Thorough Property Inspections | Perform a detailed inspection focusing on safety, structural integrity, and habitability to identify and correct issues before inspection. |
| 3. Proactively Address Safety Hazards | Systematically identify and resolve hazards, prioritizing high-risk issues for immediate professional intervention to ensure tenant safety. |
| 4. Prepare Comprehensive Documentation | Organize all essential documents, including safety certificates and maintenance records, to facilitate the inspection process and demonstrate professionalism. |
| 5. Execute a Final Walkthrough | Before the inspection, conduct a systematic review of the property to ensure compliance and rectify any last-minute issues. |
Step 1: Review HMO Licensing and Local Authority Requirements
Successfully navigating HMO licensing requires understanding the specific requirements set by your local authority. This step focuses on comprehensively reviewing the licensing landscape to ensure your property meets all mandatory standards.
According to gov.uk, local housing authorities have distinct guidelines for Houses in Multiple Occupation (HMOs). Your first action is to contact your specific local council to understand their precise licensing requirements. Each council may have slightly different additional licensing schemes beyond the mandatory national regulations.
Shelter England highlights that HMO licenses typically fall into two primary categories mandatory and additional licensing. Mandatory licensing applies to properties housing five or more individuals from two or more households, sharing basic amenities like bathrooms or kitchens. Additional licensing might cover smaller properties or specific local conditions.
Pro tip: Request a comprehensive checklist from your local authority detailing exact documentation, property standards, and compliance requirements. Keep this document as your roadmap throughout the inspection process.
 Understanding these specifics will dramatically increase your chances of passing the HMO inspection smoothly.
Step 2: Inspect Property Condition and Essential Safety Measures
This crucial step involves a comprehensive examination of your HMO property to ensure it meets all safety and condition standards required by local authorities. Your goal is to identify and rectify any potential issues before the official inspection.
Torbay Council emphasises the importance of a systematic property assessment. Start with a detailed room-by-room inspection focusing on structural integrity, electrical systems, gas installations, and overall habitability. Check for potential hazards like dampness, inadequate ventilation, faulty wiring, or potential trip and fall risks. Document everything meticulously with photographs and detailed notes to demonstrate your proactive approach.
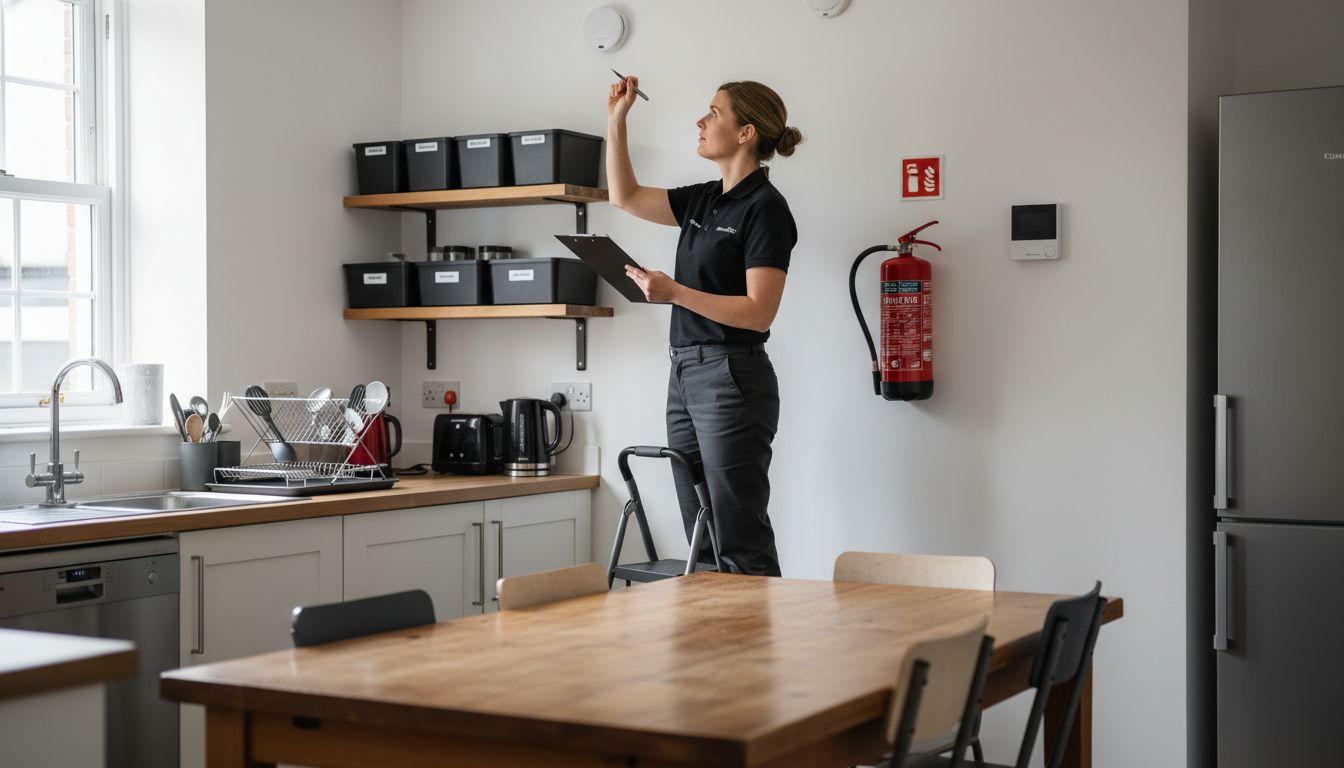
According to Ealing Council, key safety measures include functional smoke and carbon monoxide detectors, clear fire escape routes, secure locks, and proper electrical and gas safety certificates. Pay special attention to shared areas like kitchens and hallways where multiple safety regulations apply. For electrical systems, ensure a registered electrician provides a recent Electrical Installation Condition Report (EICR). For gas systems, a current Gas Safety Certificate is mandatory.
Pro tip: Create a comprehensive property condition checklist before the inspection. This demonstrates your commitment to safety and helps you systematically address potential issues.
Step 3: Address Common Hazards and Rectify Non-Compliance Issues
This critical step focuses on systematically identifying and resolving potential safety hazards and regulatory compliance gaps in your HMO property. Your objective is to proactively address any issues that could compromise tenant safety or lead to inspection failures.
Bath and North East Somerset Council recommends a structured approach to hazard identification. Begin by categorising potential risks into structural, safety, and maintenance domains. Structural hazards might include wall or ceiling damage, unstable flooring, or inadequate property support. Safety risks encompass electrical faults, gas leakage points, inadequate fire protection, and potential trip or fall zones. Maintenance concerns involve damp prevention, proper ventilation, and overall property hygiene.
Warrington Council emphasises prioritising hazards based on their potential impact. High risk issues require immediate professional intervention. This means engaging certified electricians for wiring problems, registered gas engineers for heating system checks, and professional contractors for structural repairs. Document all remediation work with comprehensive certificates and receipts. These records demonstrate your commitment to tenant safety and regulatory compliance.
Pro tip: Create a hazard tracking spreadsheet that logs each identified issue, its severity, recommended action, completion date, and verification status. This systematic approach will help you manage repairs efficiently and provide clear evidence of your proactive maintenance strategy.
Step 4: Prepare Mandatory Documentation and Evidence
In this crucial step, you will compile and organise all essential documentation required for your HMO inspection. Thorough preparation can significantly streamline the inspection process and demonstrate your professionalism as a property manager.
Oxford City Council highlights the importance of comprehensive documentation. Your evidence package should include property floor plans, electrical safety certificates, gas safety records, fire risk assessments, energy performance certificates, and tenant contact information. Ensure each document is current, clearly legible, and systematically filed. Pay special attention to maintaining original copies and creating digital backups.
National Residential Landlords Association recommends creating a dedicated folder for each property with clearly labelled sections. Include chronological records of maintenance work, safety inspections, and any previous correspondence with local authorities. Verify that all certificates have current dates and professional credentials are visible. Check that contractor details match official registration requirements.
Pro tip: Create both physical and digital documentation sets. Keep a master checklist tracking expiration dates for each certificate to ensure timely renewals and continuous compliance.
Step 5: Conduct a Final Pre-Inspection Walkthrough
This critical stage involves a meticulous final review of your HMO property to ensure every detail meets regulatory standards. Your goal is to catch any last minute issues that could potentially compromise the inspection outcome.
Torbay Council recommends a systematic room-by-room approach for your pre-inspection walkthrough. Start with shared communal areas like kitchens and hallways, checking for cleanliness, functional safety equipment, and clear emergency exit routes. Verify that all electrical outlets are in perfect condition, smoke detectors are operational, and fire extinguishers are correctly mounted and within their expiration dates. Pay special attention to potential trip hazards, ensuring carpets are secure and flooring is even without loose edges or dangerous gaps.
Ealing Council emphasises the importance of documentation during this walkthrough. Carry a detailed checklist and camera to document the property condition. Take high quality photographs of every room, capturing both positive compliance aspects and any areas requiring immediate attention. Check that all safety certificates are displayed prominently and that tenant information boards are up to date. Ensure waste management areas are clean and organised, and that all shared facilities meet hygiene and accessibility standards.
Pro tip: Perform this walkthrough with a critical eye imagine you are the inspector. Walk through each space slowly and methodically, viewing the property as an independent professional would during the actual inspection.
Navigate Your HMO Inspection With Confidence and Expert Support
Passing an HMO inspection demands more than just understanding regulations it requires thorough preparation, detailed documentation, and addressing hazards promptly as highlighted in the step-by-step guide. Many landlords face challenges such as ensuring compliance with local authority standards, managing safety certificates, and completing last-minute fixes before inspections. These tasks can feel overwhelming and stressful when you want to protect your investment and ensure tenant safety.
At AgentHMO, we understand these pain points and provide a tailored platform designed to support you through every phase of your HMO journey. Whether you need trusted property management experts, reliable estate agents, or professional guidance on compliance and documentation we connect you to trusted specialists nationwide. Don’t wait for the inspection day to scramble for solutions. Visit AgentHMO now to explore comprehensive services that simplify your preparation, verify your property meets all safety regulations, and help you achieve a successful inspection outcome. Take control and ensure your HMO property is inspection-ready today.
Frequently Asked Questions
What are the key requirements for HMO licensing?
To comply with HMO licensing, you must contact your local council to understand their specific requirements. Prepare a checklist of documentation and property standards needed to meet these local regulations.
How do I assess my HMO property’s condition before an inspection?
Conduct a thorough room-by-room inspection, checking for structural integrity, electrical systems, and safety hazards. Document any issues with photographs and notes to ensure all potential problems are addressed ahead of the official inspection.
What common hazards should I look for in my HMO property?
Identify hazards such as structural damage, electrical faults, and inadequate fire safety measures. Categorize these risks and prioritize addressing the high-impact issues by engaging qualified professionals for necessary repairs.
What documentation should I prepare for my HMO inspection?
Compile essential documents like property floor plans, safety certificates, and maintenance records. Organize these materials in a dedicated folder, ensuring that all certificates are current and readily available for inspection.
How can I ensure my HMO passes the final inspection?
Perform a detailed pre-inspection walkthrough, focusing on cleanliness, functional safety equipment, and compliance with safety regulations. Use a checklist and take photographs to confirm that all areas, including shared spaces, meet local authority standards.